Introduction: My Biggest Mistake
I'll never forget the first time I tried making potato skins in my brand-new air fryer. I was hosting game night, and I'd promised my friends "restaurant-quality" appetizers. I'd seen those gorgeous, crispy potato skins on Pinterest—perfectly golden, loaded with cheese and bacon, looking absolutely irresistible.
What came out of my air fryer? Limp, pale, undercooked potato boats that were somehow simultaneously dry on the edges and mushy in the middle. The cheese slid right off. My friends were polite, but I saw them reaching for the store-bought chips instead.
Result: Twenty dollars in wasted ingredients, three hours of prep time down the drain, and a seriously bruised ego.
The worst part? Every single mistake was completely avoidable. I'd skipped crucial steps because I thought the air fryer would magically fix everything. Spoiler alert: it doesn't work that way.
Today, I'm sharing the 7 mistakes I made so YOU don't make them. After ruining countless batches and finally figuring out what works, I can now make potato skins that disappear within minutes. Let me save you the frustration, wasted money, and embarrassment I went through.
Mistake #1: Skipping the Pre-Baking Step
What I Did (The Mistake)
I was in a hurry (aren't we always?), so I cut my raw potatoes in half, scooped out most of the flesh, and threw them directly into the air fryer. I figured the air fryer would cook them through while crisping the skin. Seemed logical, right?
Why It Was Stupid
Air fryers are incredible for crisping, but they're not miracle workers. They excel at finishing and crisping already-cooked foods, not cooking raw potatoes from scratch—especially when you've hollowed them out and reduced the flesh that needs to cook through.
Raw potato skins need time to develop that fluffy interior before they can crisp properly. Rushing this process means you get either undercooked interiors or burned exteriors. There's no middle ground.
What Happened
After 20 minutes at 400°F, I had potato skins that were crispy on the very edges but still rock-hard and almost raw near the center. I cranked up the temperature thinking that would help. Instead, the edges started burning while the centers remained stubbornly undercooked.
I ended up throwing them back in for another 15 minutes at lower heat, which made them dry and leathery. The texture was all wrong—no fluffy potato interior, just this weird, dense, unpleasant chew.
The Right Way to Do It
Now I ALWAYS pre-bake my potatoes. I either bake them in the conventional oven at 400°F for 45-50 minutes until they're fully tender, or I speed things up by microwaving them for 8-10 minutes (yes, this works!).
Once they're cooked through, I let them cool for 10 minutes, slice them in half, scoop out most of the flesh (leaving about 1/4 inch), and THEN they go into the air fryer. This way, the air fryer only needs to crisp the skins and warm everything through—a job it handles perfectly.
The pre-baked potatoes get gorgeously crispy in just 8-10 minutes in the air fryer, with that perfect contrast between crispy skin and fluffy interior.
💰 Cost of this mistake: $12 in wasted potatoes and toppings, plus 3 hours of my Saturday afternoon
Mistake #2: Not Brushing the Skins with Oil
What I Did (The Mistake)
I'd read that air fryers need "little to no oil," so I took that literally. I placed my pre-baked, hollowed-out potato skins directly in the air fryer basket without any oil whatsoever. I thought the air fryer's hot circulating air alone would create that crispy texture I was after.
Why It Was Stupid
While air fryers do use significantly less oil than deep frying, they're not magic no-oil machines. The small amount of oil serves crucial purposes: it helps conduct heat evenly, promotes browning, and creates that satisfying crispy texture we're all after.
Potato skins without oil don't crisp—they dry out. There's a huge difference between crispy and dried-out, and I learned it the hard way.
What Happened
My potato skins came out looking pale and sad. They had this papery, cardboard-like texture instead of that satisfying golden crunch. They weren't terrible, but they definitely weren't the loaded potato skins I'd been dreaming about.
When I bit into one, it literally crumbled into dry flakes. There was no structural integrity, no pleasant crunch—just this dehydrated shell that fell apart. My husband took one bite and diplomatically said, "These are... interesting."
The Right Way to Do It
Now I brush both sides of my potato skins generously with oil before air frying. I use about 1-2 tablespoons of oil total for 4-6 potato skins, which is still WAY less than deep frying but makes all the difference.
I prefer avocado oil or olive oil, and I use a silicone brush to coat every surface evenly. I pay special attention to the edges and the scooped-out interior, making sure nothing gets missed.
The oil doesn't make them greasy—it makes them gorgeously golden and crispy with that satisfying crunch when you bite in. It's the difference between amateur and restaurant-quality results.
💰 Cost of this mistake: $8 in potatoes that nobody wanted to eat
Mistake #3: Overcrowding the Air Fryer Basket
What I Did (The Mistake)
I was making potato skins for a party, so I needed to make a lot of them. To save time, I crammed as many potato skin halves as possible into my air fryer basket, overlapping them and stacking them on top of each other. I figured I'd just shake the basket halfway through and everything would cook evenly.
Why It Was Stupid
Air fryers work by circulating hot air rapidly around the food. When you overcrowd the basket, you block that air circulation. The result? Uneven cooking, with some pieces perfectly crispy and others pale and soggy.
It's like trying to dry clothes in a dryer that's packed too full—the items on the outside might dry, but the ones in the middle stay damp. Same principle.
What Happened
After the recommended cooking time, I pulled out the basket to find a mess of inconsistently cooked potato skins. The ones on top and around the edges looked great—golden and crispy. But the ones in the middle and bottom were steamed and soggy from being pressed together.
I had to pull out the done ones and put the rest back in for another round, which meant some were overcooked by the time others were ready. The whole batch was inconsistent, and it took way longer than if I'd just done it right the first time.
The Right Way to Do It
Now I arrange my potato skins in a single layer with space between each one. Yes, this means I have to work in batches, but each batch only takes 8-10 minutes, and the results are consistently perfect.
I typically fit 4-6 potato skin halves in my 5.8-quart air fryer, depending on the potato size. They're arranged skin-side down first for the initial crisping, with about half an inch of space around each one.
For parties, I cook them in batches and keep the finished ones warm in a 200°F oven while I finish the rest. This gives me uniform results every single time, and honestly, it's faster than trying to salvage an overcrowded batch.
💰 Cost of this mistake: 45 extra minutes of cooking time and uneven, disappointing results
Mistake #4: Adding Toppings Too Early
What I Did (The Mistake)
I was excited about my loaded potato skins, so I piled on all my toppings—shredded cheese, bacon bits, sour cream, green onions—before putting them in the air fryer. I thought everything would cook together beautifully and come out perfectly melted and golden.
Why It Was Stupid
Different ingredients require different cooking times and temperatures. Potato skins need high heat to crisp. Cheese needs moderate heat to melt without burning. Sour cream? Should never go in the air fryer at all—it'll curdle and separate into a disgusting mess.
By adding everything at once, I was setting myself up for burned cheese, dried-out bacon, and wilted toppings that should have been fresh and vibrant.
What Happened
The cheese burned and turned brown and crusty in some spots while barely melting in others. The bacon bits got rock-hard. And the sour cream—oh, the sour cream—separated into this weird, oily, curdled disaster that looked absolutely revolting.
The green onions completely wilted and turned dark brown, losing all their fresh, bright flavor. Instead of beautiful, Instagram-worthy loaded potato skins, I had what looked like a kitchen accident.
The Right Way to Do It
Now I use a strategic two-stage approach. First, I air fry the potato skins by themselves (with just oil, salt, and pepper) at 400°F for 8-10 minutes until they're perfectly crispy.
Then I add the cheese and any pre-cooked toppings like bacon, and return them to the air fryer for just 2-3 minutes at 350°F—just long enough to melt the cheese without burning it.
Fresh toppings like sour cream, green onions, chives, or additional crispy bacon get added AFTER cooking, right before serving. These fresh elements provide textural contrast and bright flavors that would be completely lost if cooked.
This method gives me crispy skins, perfectly melted cheese, and fresh, vibrant toppings—exactly what loaded potato skins should be.
💰 Cost of this mistake: $15 in toppings that went straight into the garbage
Mistake #5: Using the Wrong Type of Potato
What I Did (The Mistake)
I grabbed whatever potatoes were on sale at the grocery store—in this case, small red potatoes. They were cheap, they were potatoes, and I figured potato skins were potato skins. How different could they really be?
Why It Was Stupid
Not all potatoes are created equal. Waxy potatoes (like red potatoes or new potatoes) have a dense, moist texture that holds together well in salads and roasting. But for potato skins, you want a starchy potato that becomes fluffy inside and crispy outside.
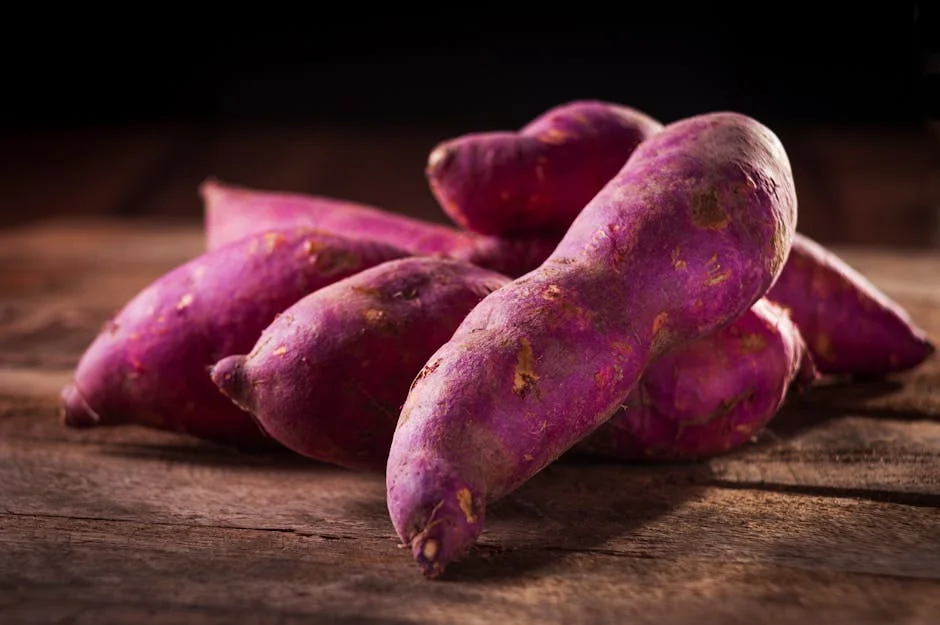
The moisture content and starch composition dramatically affect the final texture. Using the wrong potato type means you'll never get that restaurant-quality result, no matter how perfectly you follow every other step. If you're interested in exploring other potato varieties, check out our sweet potatoes air fryer guide for a different take on air-fried potato dishes.
What Happened
My red potato skins came out... weird. They weren't fluffy inside—they were dense and almost gummy. The skins didn't crisp properly; they stayed somewhat tough and leathery. The whole texture was just wrong.
They weren't inedible, but they weren't what I wanted. They tasted more like roasted potato halves than proper potato skins. My family ate them (because I'd made them and they're polite), but nobody was impressed.
The Right Way to Do It
Now I exclusively use russet potatoes (also called Idaho potatoes) for potato skins. These are the large, brown-skinned potatoes with white flesh. They're high in starch and low in moisture, which means they bake up fluffy inside and get incredibly crispy outside.
I look for medium to large russets that are uniform in size so they cook evenly. Each potato makes two generous potato skin servings when halved lengthwise.
Since switching to russets, my potato skins have that perfect contrast—crispy, almost shattery skin with fluffy, light potato inside. It's the difference between okay and outstanding.
💰 Cost of this mistake: $6 and the disappointment of subpar potato skins
Mistake #6: Not Seasoning the Potato Skins Before Air Frying
What I Did (The Mistake)
I brushed my pre-baked potato skins with oil and placed them in the air fryer completely unseasoned. My thinking was that I'd be adding cheese, bacon, and other flavorful toppings, so the potato itself didn't need seasoning.
Why It Was Stupid
The potato skin and the thin layer of potato flesh you leave attached make up a significant portion of each bite. If that base isn't seasoned, your potato skins will taste flat and one-dimensional, no matter how much cheese and bacon you pile on top.
Seasoning before air frying also allows the salt and spices to slightly penetrate the surface during cooking, creating deeper flavor rather than just surface seasoning.
What Happened
My first bite was disappointing. The toppings were flavorful, but the potato underneath was bland and boring. Each bite felt unbalanced—I was tasting cheese and bacon, then plain potato, then cheese and bacon again. There was no cohesive flavor.
I tried adding salt after cooking, but it just sat on top without integrating. The potato skins were technically well-executed but ultimately forgettable because the foundation was underseasoned.
The Right Way to Do It
Now, after brushing with oil, I generously season both the inside and outside of each potato skin before air frying. I use kosher salt, black pepper, and garlic powder. Some days I add paprika or cayenne pepper for a little extra kick.
The seasoning creates a flavorful base that makes every bite satisfying, even before the toppings come into play. The potato itself becomes a star player rather than just a vehicle for cheese and bacon.
I apply the seasoning right after the oil while it's still wet—this helps it stick and distribute evenly.
💰 Cost of this mistake: Nothing financially, but a lot of disappointing meals