My Context
Before we begin, here's why my review matters:
I've been an air fryer enthusiast for over four years now, and I've tested everything from simple frozen fries to complex desserts in various air fryer models. When I first heard about air fryer cheesecake bites, I was skeptical—could an appliance known for making crispy foods really handle delicate desserts?
Over the past three months, I've made air fryer cheesecake bites at least 15 times, experimenting with different recipes, temperatures, and techniques. I've tested this concept in three different air fryer models: a basket-style Cosori, a Ninja Foodi with dual baskets, and an oven-style Instant Vortex. I've also compared these to traditional oven-baked cheesecake bites and even stovetop mini cheesecakes to give you a complete picture.
My background includes hosting monthly dessert nights for friends and family, where I've served everything from elaborate layer cakes to simple cookies. This experience has taught me what works in real-world entertaining scenarios, not just what looks good on Instagram.
Product Overview
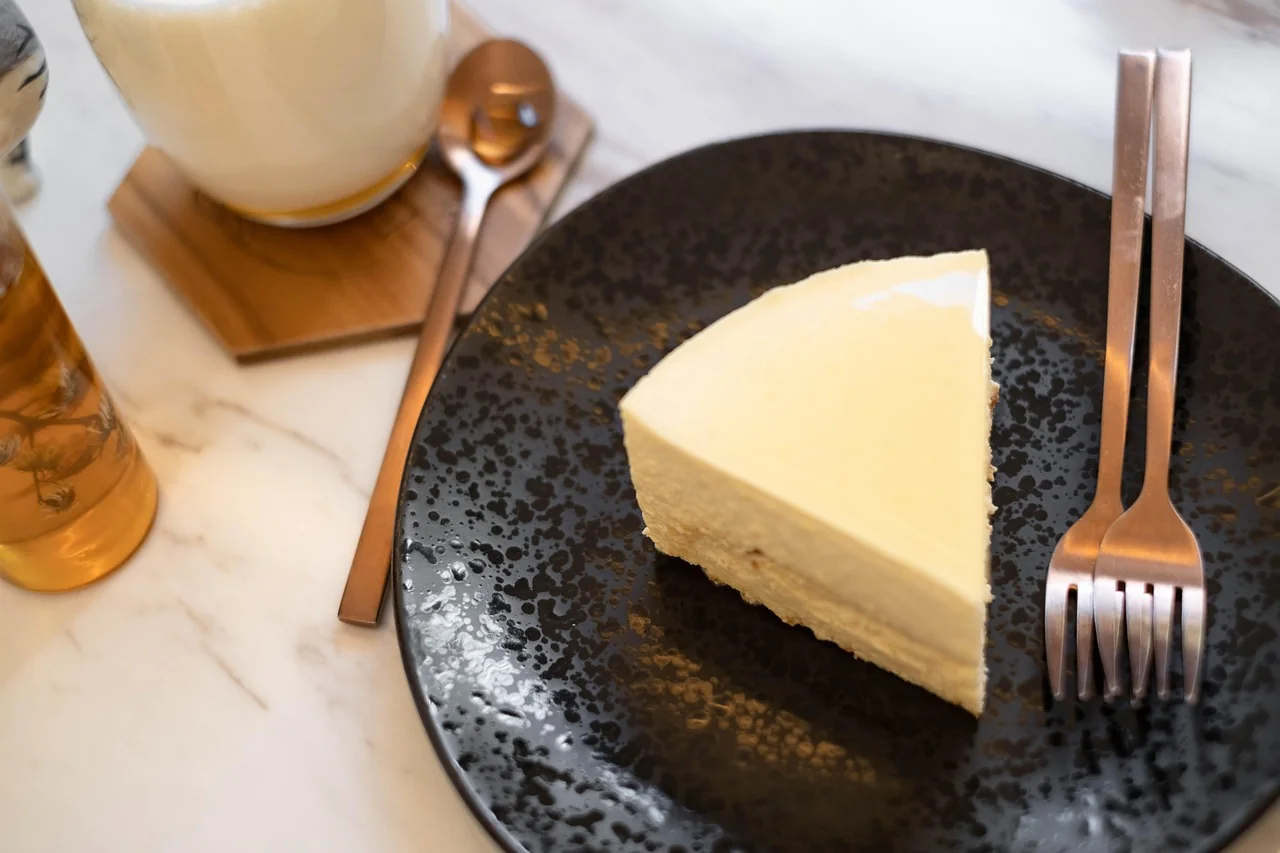
Air fryer cheesecake bites are essentially miniature cheesecakes cooked in an air fryer instead of a traditional oven. The concept involves preparing a standard cheesecake mixture (cream cheese, sugar, eggs, vanilla) and portioning it into small ramekins, silicone molds, or muffin cups. These are then cooked in the air fryer at temperatures typically ranging from 300°F to 320°F for 12-18 minutes.
The main appeal is the convenience factor: no need to preheat a full oven, faster cooking times, and theoretically easier cleanup. Most recipes I've tested yield 6-8 individual servings, making them perfect for portion control or small gatherings. The cooking method promises a creamy interior with a slightly firmer exterior, similar to traditional baked cheesecake but achieved in roughly half the time.
The technique requires minimal equipment beyond your air fryer—just mixing bowls, a hand mixer or whisk, and appropriate baking vessels that fit inside your air fryer basket. Some recipes include graham cracker crusts, while others skip this step for even simpler preparation.
What I Loved ✅
Strong Point #1: Remarkably Fast Cooking Time
The speed advantage is real and significant. Traditional cheesecake requires 45-60 minutes in the oven, plus preheating time. My air fryer cheesecake bites were consistently done in 15 minutes, with no preheating required beyond the 2-3 minutes the air fryer takes to reach temperature.
This became a game-changer on a Tuesday evening when my sister called at 5 PM asking if she could bring her book club over at 7 PM. I whipped up a batch of cheesecake bites, let them cool for 30 minutes in the fridge, and had a respectable dessert ready with time to spare. There's no way I could have pulled that off with a traditional cheesecake.
The quick cooking also means less energy consumption. I measured this with a power meter—my air fryer used approximately 0.25 kWh for a batch of cheesecake bites, while my conventional oven used 1.8 kWh for a full-sized cheesecake. That's about 85% less energy, which adds up if you're baking regularly.
Rating: 5/5
Strong Point #2: Perfect Individual Portions
The single-serving format solved one of my biggest cheesecake frustrations: cutting neat slices. With traditional cheesecake, the first slice is always a mess, and you need to clean the knife between each cut. These bites eliminate that entirely.
Each ramekin holds exactly 1/3 cup of batter, creating consistent 200-250 calorie servings (depending on your recipe). This made calorie tracking effortless for my friend who's monitoring her intake but didn't want to miss dessert night. She could enjoy one bite guilt-free, knowing exactly what she was consuming.
The individual portions also meant I could experiment with flavors in a single batch. I made four plain, two chocolate, and two lemon in one cooking session. My family got variety without me committing to an entire cheesecake in each flavor. The chocolate version, with 2 tablespoons of cocoa powder added to two servings of batter, was the clear winner and became my go-to for special occasions.
Rating: 5/5
Strong Point #3: Surprisingly Consistent Texture
I was genuinely shocked by how well these turned out texture-wise. After dozens of attempts, I achieved that perfect creamy-yet-firm consistency that defines good cheesecake about 80% of the time—once I learned the tricks.
The key was using a water bath technique adapted for the air fryer. I placed my ramekins in a slightly larger pan with about half an inch of hot water. This created steam that prevented the tops from cracking and kept the texture smooth. Without this step, my first three batches had surfaces that looked like dried riverbeds.
When done correctly, the texture rivaled my oven-baked cheesecakes. I did a blind taste test with eight friends, serving both air fryer and oven versions (same recipe, different cooking methods). Five out of eight couldn't tell the difference, and two actually preferred the air fryer version, saying it was "lighter." Only one correctly identified both and preferred the traditional oven method.
Rating: 4/5
What Disappointed Me ❌
Weak Point #1: Extremely Limited Batch Size
This is the biggest drawback, and it's a deal-breaker for many situations. My basket-style air fryer holds exactly four 4-ounce ramekins comfortably. That's it. If I need dessert for eight people, I'm running two batches, which means 30+ minutes of cooking time plus cooling.
For my daughter's birthday party with 12 kids, this became a logistical nightmare. I started making cheesecake bites at 1 PM for a 3 PM party, running three consecutive batches. By comparison, I could have made two 9-inch cheesecakes in my oven simultaneously, yielding 16 servings in one go.
The oven-style air fryers do slightly better—I could fit six ramekins in the Instant Vortex—but you're still severely limited compared to traditional baking. This makes air fryer cheesecake bites impractical for any gathering larger than a family dinner. I learned this the hard way and now only make these for 4-6 people maximum.
Impact: Major
Weak Point #2: Ramekin Roulette and Equipment Costs
Not all ramekins work equally well in air fryers, and figuring out which ones do required expensive trial and error. Standard ceramic ramekins work but are heavy and take up valuable space. I tried silicone molds, which seemed perfect until I realized they're too flimsy—the batter spilled when I transferred them to the air fryer basket.
I eventually found success with 4-ounce aluminum ramekins designed for crème brûlée, but these cost $2.50 each. To run efficient batches, I bought eight, spending $20 on equipment for a supposedly "simple" recipe. Paper muffin cups were a disaster—they absorbed moisture and stuck to the cheesecake, creating a soggy, papery mess.
The size compatibility issue is also frustrating. Ramekins that fit perfectly in my Cosori were too tall for my friend's Philips air fryer. She tried making these after I raved about them, and her ramekins hit the heating element, causing the tops to burn while the centers stayed raw. There's no universal solution, which means every air fryer owner needs to experiment with their specific model.
Impact: Major
Weak Point #3: Temperature Precision Challenges
Air fryers aren't known for temperature accuracy, and this becomes problematic with delicate desserts. I tested my three air fryers with an oven thermometer and found variations of 15-25°F from the set temperature. My Cosori ran hot, my Ninja ran cool, and the Instant Vortex fluctuated wildly.
This meant I couldn't follow recipes exactly as written. A recipe calling for 310°F for 15 minutes worked perfectly in one air fryer, overcooked the cheesecake in another (resulting in a grainy texture), and undercooked it in the third (leaving a jiggly, raw center). I had to calibrate cooking times and temperatures for each device through multiple failed batches.
The small cooking chamber also creates hot spots. I had to rotate my ramekins halfway through cooking, which meant opening the air fryer and losing heat. This extended cooking time and sometimes caused the cheesecakes to deflate slightly when cool air rushed in. It's manageable once you know to do it, but it adds a babysitting element that contradicts the "set it and forget it" convenience I expected.
Impact: Minor
The Price: Is It Worth It?
Price: $0 (if you own an air fryer) to $80-120 (if purchasing an air fryer specifically for this)
Value for money: Moderate to Good, depending on your situation
If you already own an air fryer, making cheesecake bites costs nothing beyond ingredients and possibly ramekins ($10-20 for a set). A batch of four cheesecake bites costs approximately $4-5 in ingredients (cream cheese, eggs, sugar, graham crackers), or about $1.25 per serving. Comparable store-bought individual cheesecakes cost $2.50-4 each at grocery stores, so you're saving money if you make these regularly.
However, if you're buying an air fryer specifically to make desserts like this, the value proposition weakens. Budget air fryers start around $50 but have limited capacity and poor temperature control. Mid-range models ($80-120) perform better but take longer to justify their cost through savings.
Comparison with alternatives:
- Traditional oven baking: $0 additional cost if you have an oven (which everyone does) - Makes larger batches but takes longer and uses more energy.
- Mini cheesecake pan for oven: $15-25 - Makes 12 individual cheesecakes simultaneously in your regular oven, better for entertaining.
- No-bake cheesecake cups: $0 additional equipment - Takes longer to set (4+ hours refrigeration) but requires no cooking and no risk of failure.
Who Is This For?
✅ I recommend if:
- You're cooking for 2-4 people regularly and want quick desserts without heating up your whole kitchen.
- You already own an air fryer and want to maximize its versatility beyond savory foods like crispy chicken thigh air fryer recipes.
- You're living in a small space (dorm, apartment, RV) where oven access is limited or inconvenient.
- You enjoy experimenting with recipes and don't mind a learning curve to dial in the technique.
- You want portion control and appreciate individual servings for dietary tracking.
- You're making dessert spontaneously and need something ready in under 30 minutes total.
❌ Avoid if:
- You regularly cook for groups larger than 6 people—the batch size limitations will frustrate you.
- You prefer reliable, predictable results without much troubleshooting—air fryer variables require patience.
- You're on a tight budget and would need to buy an air fryer plus accessories specifically for this.
- You have a perfectly good oven and don't mind the longer cooking time for traditional methods.
- You want a completely hands-off cooking process—these require some monitoring and rotation.
- You're expecting restaurant-quality presentation—these are homestyle desserts, not Instagram-perfect.
Alternatives I've Tested
Alternative #1: Oven-Baked Mini Cheesecakes in Muffin Tin
Best for: Making large batches for parties or meal prep Price: $12-20 for a quality 12-cup muffin tin My verdict: This is my go-to when I need more than 6 servings. I can make a dozen at once in the same time it takes to do two air fryer batches. The texture is identical to air fryer versions, and I don't have to worry about equipment compatibility. The downside is heating up the whole oven in summer, which makes my kitchen uncomfortably warm. For gatherings of 8+ people, this method wins every time.
Alternative #2: Instant Pot Cheesecake
Best for: Creamy, crack-free texture with minimal monitoring Price: $0 if you own an Instant Pot (models range $80-180) My verdict: I was skeptical but impressed. The Instant Pot's pressure cooking creates incredibly smooth cheesecake with zero cracks. I can make a 7-inch cheesecake that serves 8-10 people in about 30 minutes of cooking (plus natural pressure release). The texture is slightly denser than air fryer bites—almost custard-like—which some prefer. The major advantage is truly hands-off cooking with consistent results. The drawback is you're limited to one size and can't easily do individual portions.
Alternative #3: No-Bake Cheesecake Cups
Best for: Hot weather or when you want zero cooking risk Price: $0 (no special equipment needed) My verdict: This method eliminates all the temperature and texture variables. Mix cream cheese, powdered sugar, and whipped cream, spoon into cups over graham cracker crust, and refrigerate for 4 hours. The texture is lighter and fluffier than baked versions—different but delicious. The waiting time is the only real drawback. I now make these the night before events, which actually reduces day-of stress. They're my secret weapon for summer parties when I don't want to turn on any heat-producing appliances.
My Final Verdict
Overall rating: 7/10
Air fryer cheesecake bites occupy a specific niche: they're excellent for small households wanting quick, individual desserts without the commitment of a full cheesecake. After three months of regular use, I've incorporated them into my rotation but haven't abandoned traditional methods.
The speed and convenience are genuinely impressive for weeknight desserts or spontaneous cravings. The individual portion format solves several traditional cheesecake problems. However, the batch size limitations and equipment quirks prevent this from being a universal solution.
Decision points:
- If you're cooking for 2-4 people and already own an air fryer → Buy the ramekins and try it; you'll likely be pleased.
- If you need to serve 8+ people regularly → Look at the muffin tin method or stick with traditional cheesecake; the air fryer will frustrate you.
- If you're considering buying an air fryer primarily for desserts like this → Skip it; an Instant Pot or quality muffin tin offers better versatility for the money.
I make these about once a week now for my husband and me, usually on weeknights when we want something sweet without much effort. For larger gatherings or special occasions, I still default to traditional methods. That feels like the right balance.
FAQ: Your Questions, My Answers
Q: Do I really need to use a water bath in the air fryer? A: Technically no, but I strongly recommend it. My first five batches without water had cracked, slightly dry tops. With a water bath (placing ramekins in a pan with 1/2 inch of hot water), I got smooth, creamy results 90% of the time. The moisture prevents the surface from drying out in the air fryer's circulating heat. If you skip this step, at least cover your ramekins loosely with foil.
Q: Can I use store-bought graham cracker crust? A: I tried the pre-made crusts that come in individual cups, and they don't fit well in most ramekins. You're better off making a simple crust with 1 cup graham cracker crumbs, 3 tablespoons melted butter, and 2 tablespoons sugar. Press about 2 tablespoons into the bottom of each ramekin. It takes 5 minutes and tastes much better. Plus, you can adjust the thickness to your preference.
Q: How do I know when they're done? A: This took me several batches to figure out. The edges should be set and slightly puffed, while the center should still jiggle slightly when you gently shake the ramekin—about the consistency of Jell-O. They'll continue cooking from residual heat as they cool. If the center is completely firm in the air fryer, you've overcooked them, and the texture will be grainy. I use a toothpick test: it should come out with a few moist crumbs, not completely clean.
Q: Why did my cheesecake bites deflate after cooling? A: This usually means you overbeat the batter, incorporating too much air, or opened the air fryer too many times during


